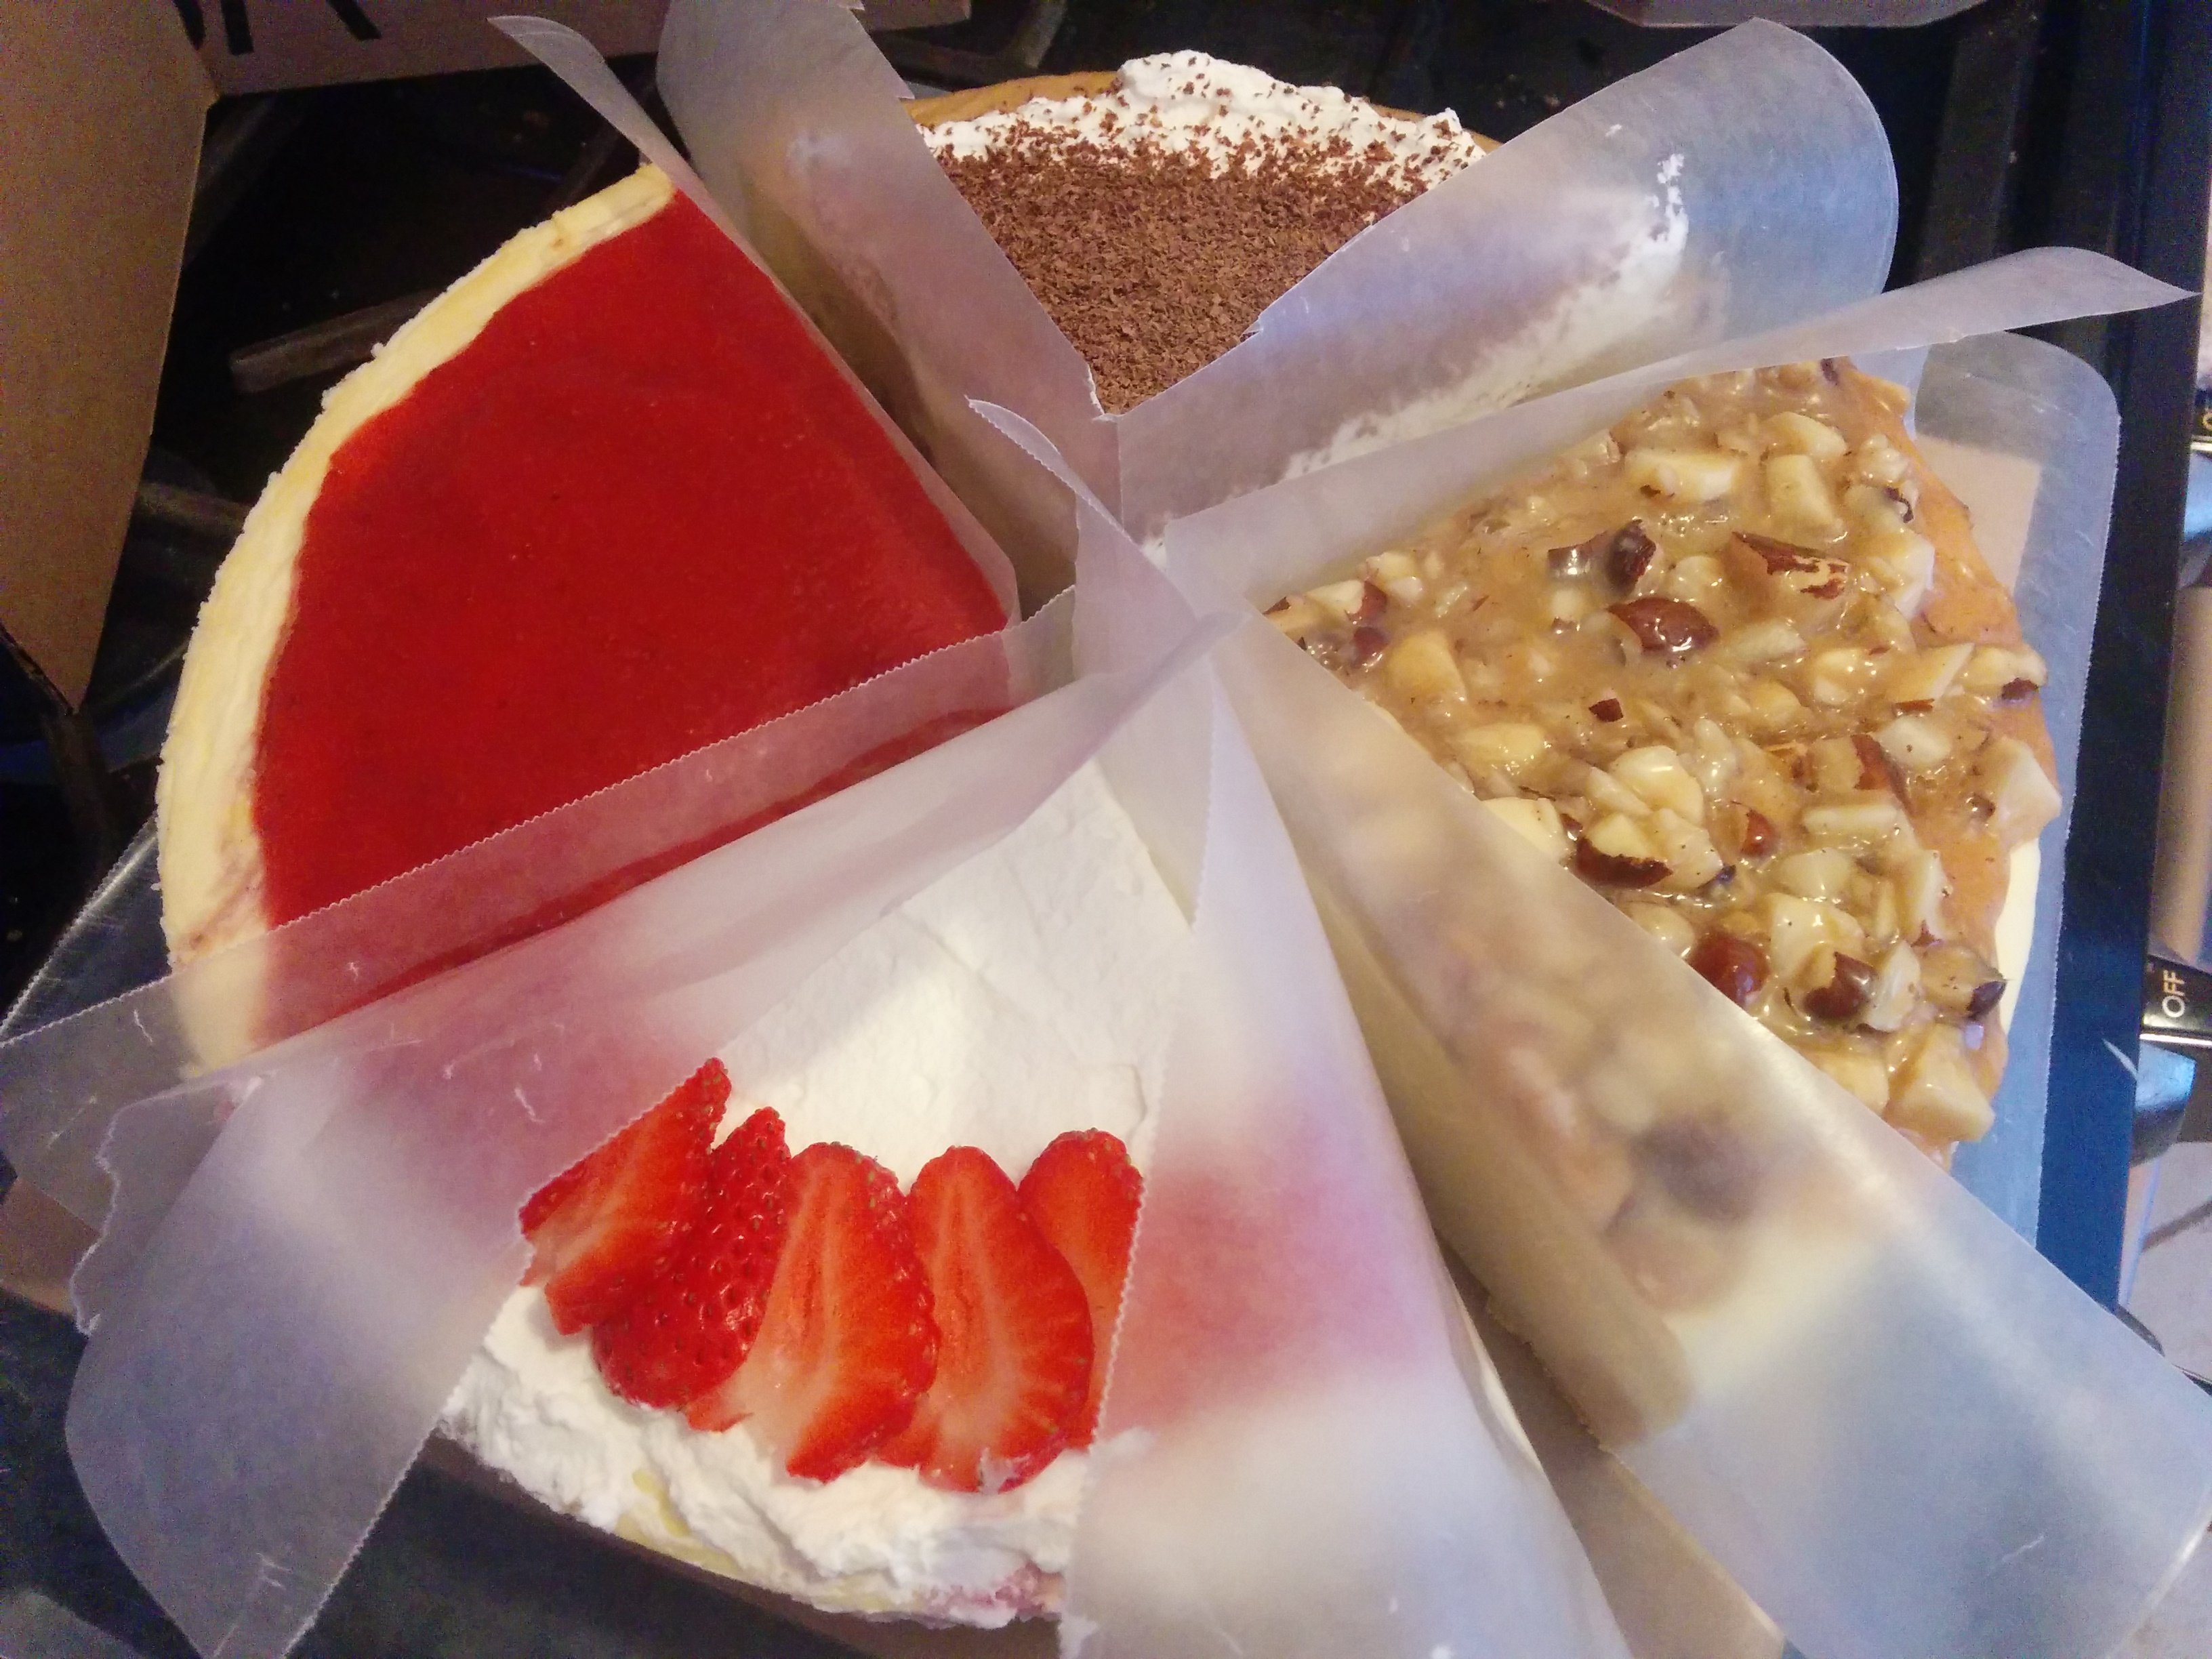
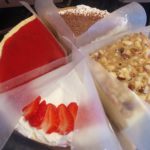
What could be a better comfort food on a low carb diet than cheesecake? Right? Just replace the sugar with erythritol, replace the flour with almond/coconut flour, and boom: mouthgasm.
Having never made a cheesecake before, I hit the internets for research. One thing I learned is that researching desserts means looking at lots of pictures of desserts, and reading lots of descriptions of eating desserts, and imagining lots of flavors and textures of desserts. It’s mouth-watering work is what I’m saying.
Another thing I learned is that, much like entrees, most recipes are named after the most optional part of the dish. For example, “lemon cheesecake” is just cheesecake with lemon flavor dumped into it. You could stick a dozen other flavors into it and still have essentially the exact same recipe, but it would have a dozen different names. We should call it cheesecake with lemon instead.
Also, since I’ve never made cheesecake before, I don’t know what the different texture options mean. That’s something I’ll have to learn (the struggle is real).
So I put together one generic “default” cheesecake recipe which seemed to be the basis of most of the recipes I collected. I also separated the crust out into its own recipe, since it’s a totally independent variable. I made an assumption, based on the logical explanations I found 1, that using a water bath would be worth the trouble. I also assumed that using a springform pan would not be worth the trouble 2.
This recipe is based on proportions and was declared “better than everything else in the world” by reliable parties.
A note about schedule is that each cheesecake occupies the oven for 2hrs, requires at least another 1hr between the preparation and topping, and should sit overnight in the refrigerator. So if you want to make a lot of them you should start a day or two ahead of time.
ingredients
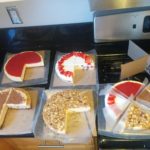
- I was able to fit crust and 4x filling into my cake pans; one cheesecake had crust, 3x filling, and a tub each of raspberries and blueberries and just barely fit into the cake pan
- 1 part: 8oz cream cheese
- 1 part: 1/4 cup Swerve confectioner sweetener
- 1 part: 1/4 teaspoon vanilla extract
- 1 part: large egg
- sour cream or heavy cream
- flavors to taste
- instant coffee dissolved in a little hot water
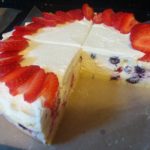
- berries (dehyrated or freeze dried won’t add moisture to the filling)
- caramel
- lemon zest and/or juice
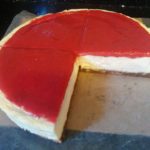
- strawberry puree (cook off most of the moisture first)
tools
- 1 large bowl
- 1 spatula
- 1 whisk
- appropriate measuring cups
- 1 9″ cake pan
- 1 roasting pan
- 1 butter knife
- something big and flat, like a cutting board
- optional – cooking spray
steps
- warm filling ingredients to room temperature
- leave them out on the counter for a long while
- put them in warm water for a short while
- optional – prepare crust
- preheat oven to 325F
- mix cream cheese in bowl a little with spatula
- mix sweetener into cream cheese until even with spatula
- mix vanilla extract until even with spatula
- optional – mix any additional ingredients
- other flavors
- sour cream
- heavy cream
- mix eggs until even with whisk
- try not to “beat” the mixture; you want as little air in it as possible
- if it’s staying lumpy put it in the microwave for 30-60 seconds to warm it up
- fold in any solid ingredients with spatula
- optional – spray cooking spray into cake pan
- especially a good idea if you’re not using a crust
- not strictly necessary if you do have a crust since most of them have a lot of oil already
- pour filling into cake pan with spatula
- drop cake pan on counter a few times to settle and release trapped air
- place cake pan in roasting pan
- fill roasting pan with hot water (less than height of cake pan)
- place roasting pan in oven
- bake 325F for 30-60min
- it’s really hard to tell anything by looking at a cheesecake
- 2x seemed to do well at 30min
- 3-4x seemed to do well at 60min
- turn off oven
- prop oven door open a little
- cool in oven for 60min
- remove cake pan
- continue to cool on counter or put straight into refrigerator
- refrigerate at least a few hours, preferably overnight
- separate edges of set cheesecake from edges of cake pan with butter knife
- heat bottom of cake pan on burner for 30sec (more as required)
- place “something big and flat, like a cutting board” on top of cheesecake, then flip pan over and try to shake the cheesecake loose
- hold on to the edges of the pan
- if it doesn’t come out right away, put it back on the burner for 15sec
- feel free to shake it really hard
- try turning it sideways and tapping it on the counter
- it will come out eventually, although you might have to repair the crust if part of it sticks
- put the cheesecake serving tray on top of the crust and flip the whole thing back over; remove cutting-board-like-thing
- ideally warm to room temperature before eating
- cut by pushing down, then pulling out sideways, then wiping off knife
crust
- There seem to be two basic kinds of crust
- cooked – grind up cookies or graham crakers, melt in butter, form in pan, firm in refrigerator
- raw – mix batter, form in pan, cook in oven
- looking back on it now, some of these might have too much oil in them. Less oil might help the crust stay attached to the sides of the pan while it’s baking empty, so consider using less butter.
- This one is simple and everyone enjoyed it
- 3/4 cup almond flour
- 1/4 cup coconut flour (distinctly coconut flavor)
- 1/2 teaspoon baking powder
- 1/2 teaspoon salt
- 1/2 cup Swerve confectioner sweetener
- mix those all until even
- 8 tablespoons unsalted butter
- drop it in and microwave for a minute, then mix until even
- 1 large egg
- wait until the batter isn’t hot from the microwave, then mix egg until even
- bake at 325F for 15min
- The above crust can be given more texture
- mix the above batter WITHOUT the egg, so it’s still crumbly
- dump the crumbly batter onto a baking tray and spread out the crumbs
- bake at 325F (with convection on if you have it) until golden brown
- allow to cool and harden
- break up crumbs
- add some melted butter, spread in pan, and set in refrigerator OR add egg (and optionally more sweetener and/or butter), spread in pan, and put back in oven for 10min
- Another crust that’s got a harder texture and chocolate flavor
- 1 cup almond flour
- 1/4 teaspoon salt
- 1/2 teaspoon xanthan gum
- 1 cup Swerve confectioners sweetener
- unsweetened cocoa powder
- add 1/4 cup butter and heat in microwave, then mix
- unsweetened baker’s chocolate
- mix until smooth and spread in pan
- bake at 325F for 15min
- a really simple crust is just crushed nuts
- I used Brazil nuts
- blend (I used an immersion blender)
- mix in 8 tablespoons melted butter
- mix in sweetener
- mix in 1 large egg
- spread in pan
- cook 15min at 325F
toppings
- whipped cream
- put heavy cream and sweetener and maybe some vanilla extract into a bowl
- whisk until it turns into whipped cream; try to get as much air in there as possible
- it will take longer than it seems like it should
- cream of tartar might help, but I didn’t need it
- strawberry puree
- remove leaves from strawberries
- blend strawberries (I used an immersion blender)
- mix in sweetener
- simmer on stove, stirring, until most of the moisture driven off
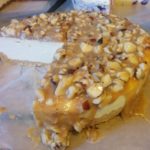
- salted caramel
- I must have gotten really lucky that I got Truvia caramel to work on my very first try becaus it took like three more tries to get low carb caramel to sort of work after that. It does happen, but I’m not entirely sure how to control it. The following recipe should work for you, especially if you don’t overcook it.
- 8 tablespoons of butter in sauce pan
- boil until butter starts to turn brown (it will happen quickly)
- add 1 cup of Truvia (I tried Swerve but it wouldn’t carmalize)
- cook at medium head for a while until the mixture smooths out and doesn’t look like grains of Truvia floating in butter (it happens quickly)
- try to keep the temperature low enough you don’t see much/any smoke
- optionally add a little caramel extract
- add 1/2 cup heavy cream or sour cream
- add kosher salt
- use a spoon to taste frequently (make sure to cool it first)
- when you figure it’s good, mix in some chopped nuts, or not
- save for later or pour onto cake immediately, whatever, I’m not your mom
- cheesecake needs to cook slowly and evenly, so the water averages out temperature fluctuations and keeps the air moist ↩
- it’s more expensive, it lets the water leak in, and you can get a cheesecake out of a normal cake pan by warming the bottom on the stove and flipping it upside down because cheesecakes are sturdy ↩
Be First to Comment